The Do’s and Don’ts of monitor arm installation & adjustment
The Do’s and Don’ts of monitor arm installation & adjustment
Monitor arms are one of the simplest ways to improve screen ergonomics, but only if they’re installed and adjusted correctly. A poorly mounted or incorrectly tensioned arm can cause more issues than it solves: eye strain, shoulder tension, and posture that shifts throughout the day. Proper setup makes the difference between a screen that works with your body and one that gradually pulls it out of alignment.
In the Workspace Zone Approach ™> to ergonomics, monitor arms sit firmly within Zone 3: Relieve Neck Strain. This is the zone that connects how your arms, screen, and workspace set-up function as a whole. When your screen is too high, too low, or too far away, even the best chair or footrest can’t compensate.
This guide covers what to do, and what to avoid, when installing and adjusting a monitor arm for long-term comfort and usability
RECOMMENDED BY THE FELLOWES WORKLIFE COACH
Do this when installing
a monitor arm
Check your desk before installation
Before installing, check the thickness and strength of your desk to ensure it can support the combined weight of the monitor and arm and that the mount will actually fit the desk. Especially important, if your wanting to install a monitor arm to a thick or very thin surface.
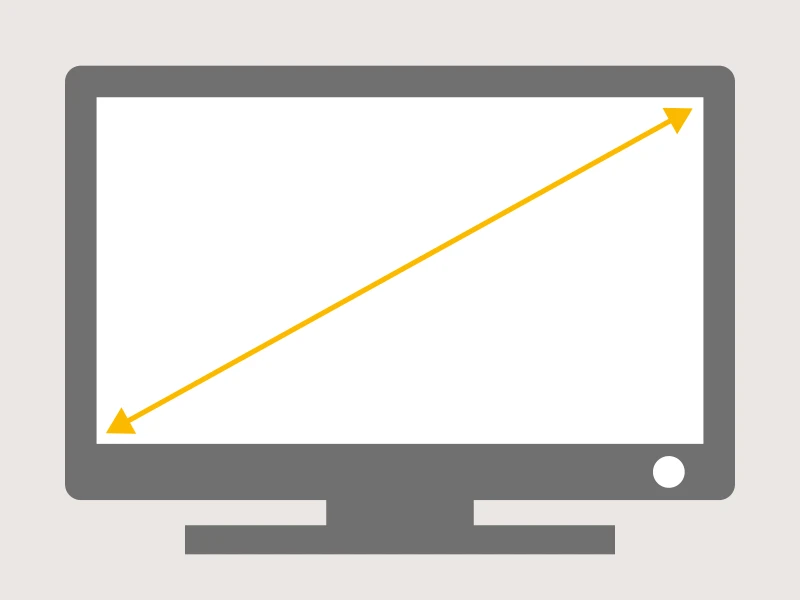
Check your screen size and weight
Check the manual to ensure that your monitor arm can hold the size and weight of the screen or screens you want to mount.
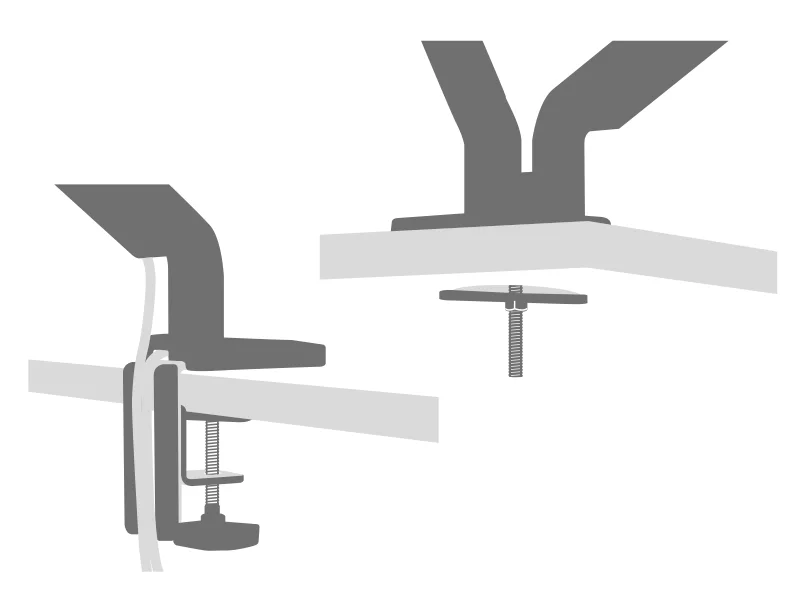
Confirm mounting method for your setup
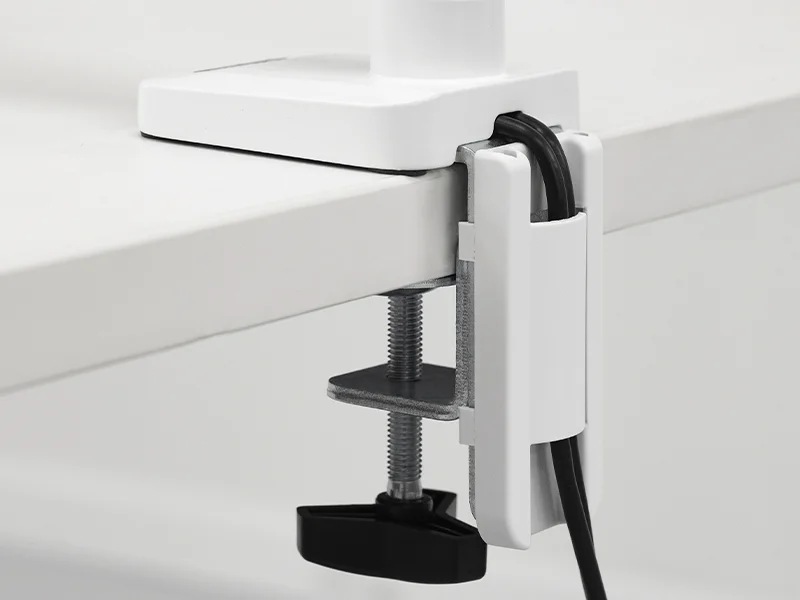
Most monitor arms attach using either a clamp or grommet mount. Clamps grip the edge of the desk while grommets pass through a pre-drilled hole for a seamless finish.
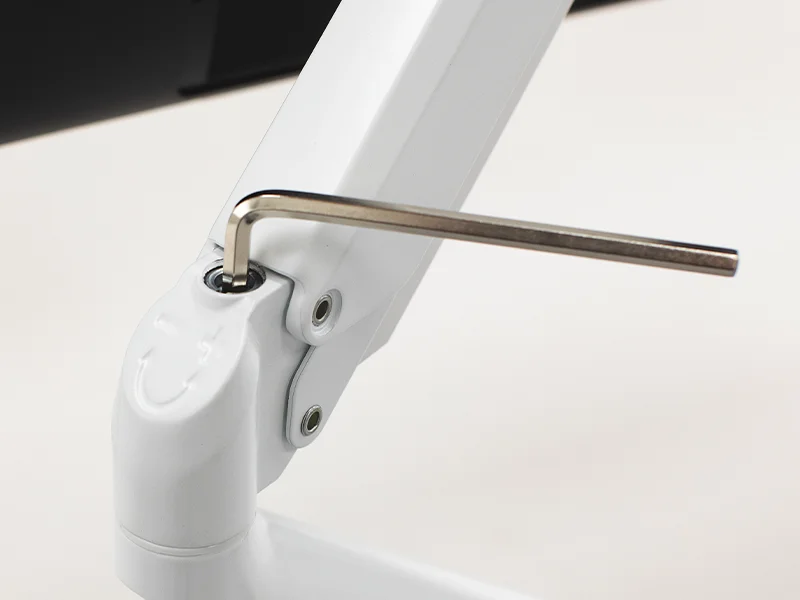
Install the Monitor Arm
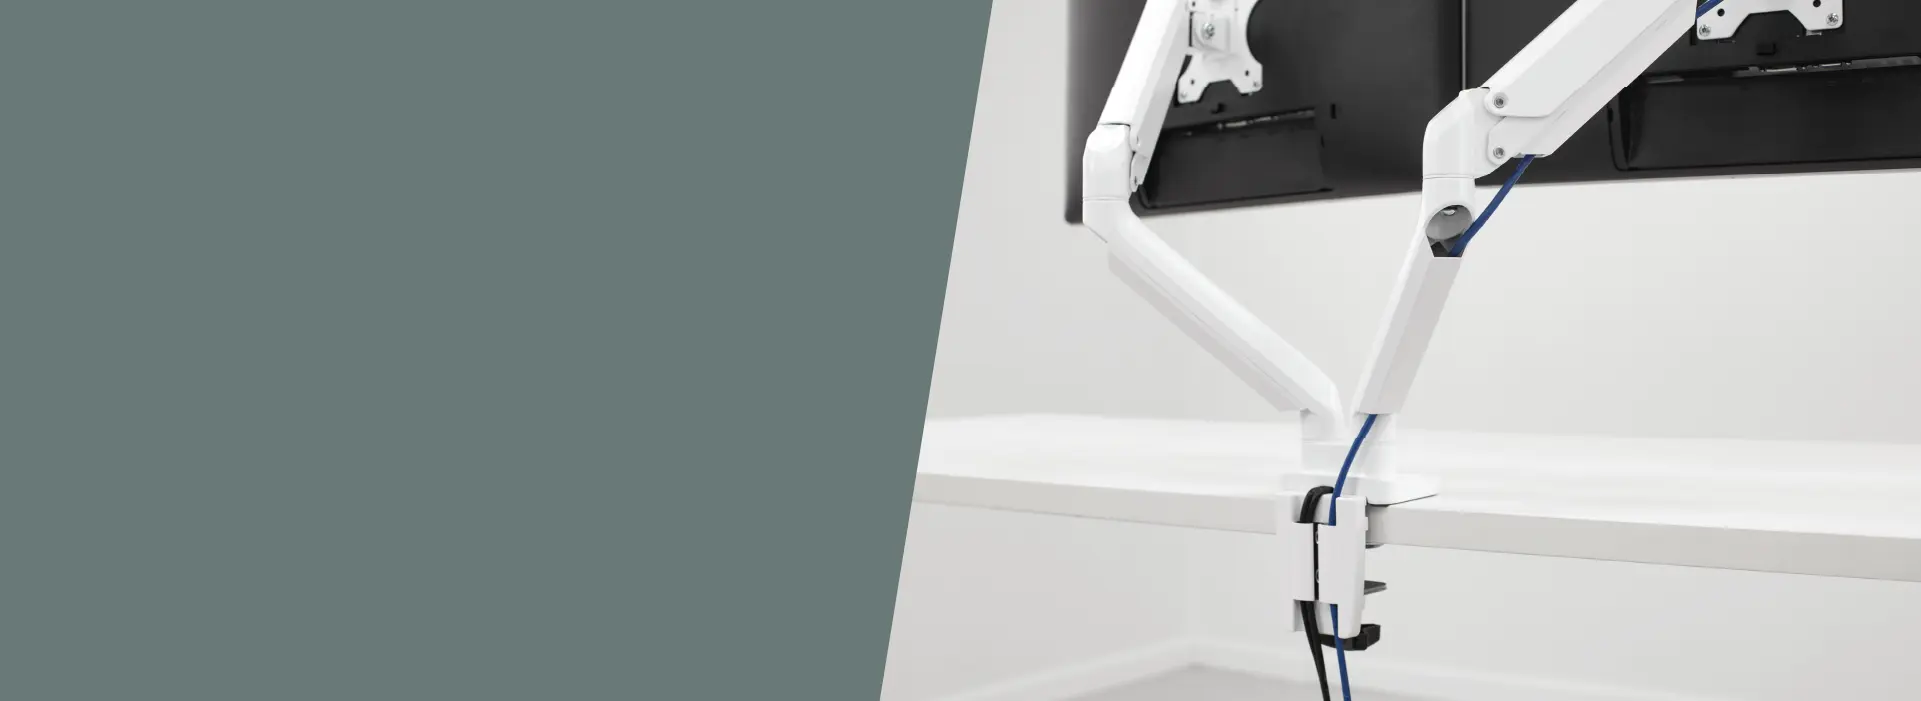
When considering how to install a monitor arm, follow the manufacturer’s guidance and use the tools provided, typically an Allen key or screwdriver. Tighten all the fittings properly and tension the arm to the weight of your screen ( gas spring arms only). Loose joints or clamps not tightened correctly can cause instability, especially when using heavier or multiple screens like Fellowes Tallo ™
or Platinum series.
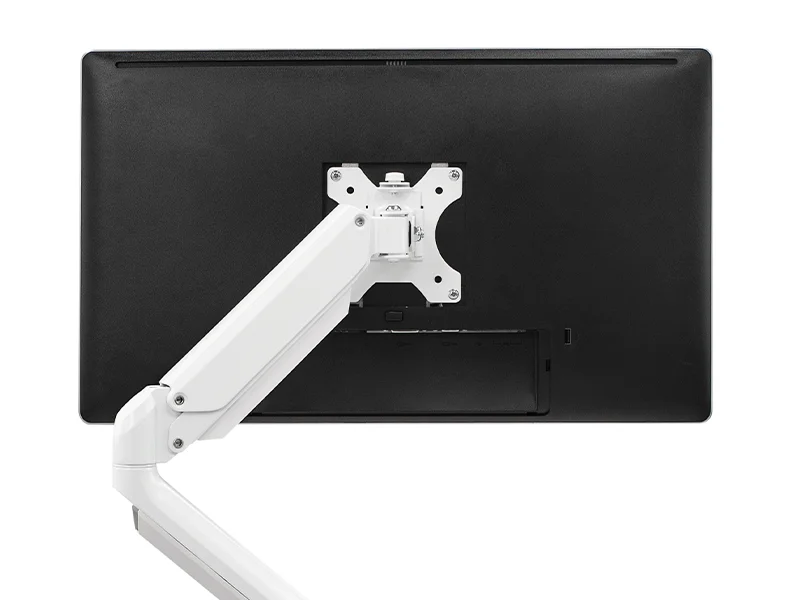
Secure the monitor using the VESA mount
All Fellowes monitor arms are VESA-compatible (75x75mm or 100x100mm). For those asking how to attach a monitor to a monitor arm, this typically involves aligning the plate with the monitor’s mount points and fastening four screws. Some models include quick-release plates, useful for faster installation or removal.
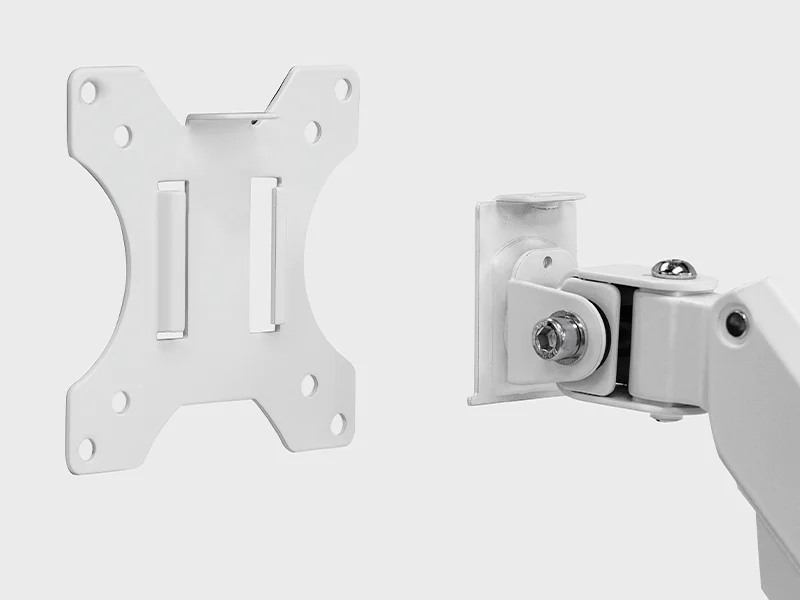
Use a VESA adapter for non-standard monitors
To mount an iMac on a monitor arm, for example, a compatible adapter is needed. Fellowes arms are built around VESA 75 & 100 standards, so check compatibility before starting.
If you don't have a VESA plate don't worry, you can still raise your screen to the correct level using a monitor stand instead.
How to adjust your monitor arm for comfort
-
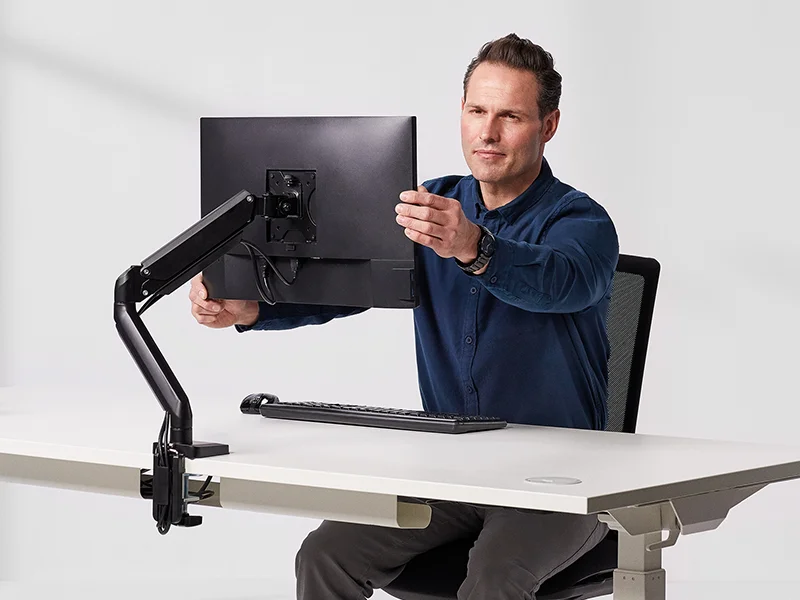
• Set the height to eye level
Position your arm so the top of your screen is at eye level. With a gas spring arm you simply move the screen till its in position. For fixed arms you will need to loosen the height adjustment bracket and move the screen to the right position before re tightening the joint. This helps keep the neck neutral and reduces strain. In sit-stand setups, you may need to re-adjust when changing position.
-
• Adjust the screen distance
If you’re unsure how to position monitor arm, place the screen about an arm’s length away. Refine the distance based on screen size and readability.
-
• Set the tilt to reduce glare
Those asking how to adjust monitor arm tilt should aim for a slight upward angle, 10–20 degrees. Avoid tilting the screen too far down, which pulls the neck forward.
-
• Adjust the tension for stable movement
To tighten monitor arm or adjust monitor arm tension, use the supplied tool to ensure the monitor holds its position without drifting or bouncing (gas spring arms only).
-
• Check alignment regularly
Even small shifts affect posture, so if you catch yourself leaning forward, re-check the arm's position.
Don’t make these setup mistakes
-
• Mounting on an unstable or unsuitable desk
If the desk surface is too thin, too thick, or not properly secured, the monitor arm may not hold its position or could shift over time. If you're figuring out how to mount a monitor arm on a thick desk, make sure your chosen arm is rated for the depth and material of your workstation. Always check clamp capacity or consider a bolt-through grommet mount if the edge isn't reliable.
-
• Skipping tension adjustment after installation
If you’re unsure how to position monitor arm, place the screen about an arm’s length away. Refine the distance based on screen size and readability.
-
• Ignoring screen alignment
If the monitor is too low, too high, or off-centre, it pulls the body out of position. Postural discomfort builds quickly when the screen doesn't match your eye line. Anyone asking how to position monitor arm should focus on getting the top third of the screen roughly level with the eyes while sitting or standing in a neutral posture.
-
• Mounting without securing all joints
Loose joints or skipped locking steps can lead to instability. This is a common cause of screen shake. If you're troubleshooting how to stop monitor arm from shaking, double-check every connector and fastener, especially where the monitor attaches to the VESA plate.
-
• Tilting the screen too far forward or back
Tilt angle affects neck position more than people realise. For those adjusting how to tilt monitor arm, the goal is a screen angle that avoids glare but still allows the head to stay level, not tipped forward or backwards. Over-tilt often happens in dual-monitor setups or when arms aren’t tensioned properly.
Why screen position matters
Monitor arms exist to prevent imbalances, and when properly installed and adjusted, they keep the screen stable, positioned at eye level, and easy to move without strain.
That adaptability also supports other ergonomic zones, so if your screen is correctly placed, your back stays supported, and your legs can remain steady and relaxed, both of which are key components of Zone 1. As you can see, a well-set monitor arm removes one of the most common triggers for poor posture: a screen that quietly pulls you out of alignment.